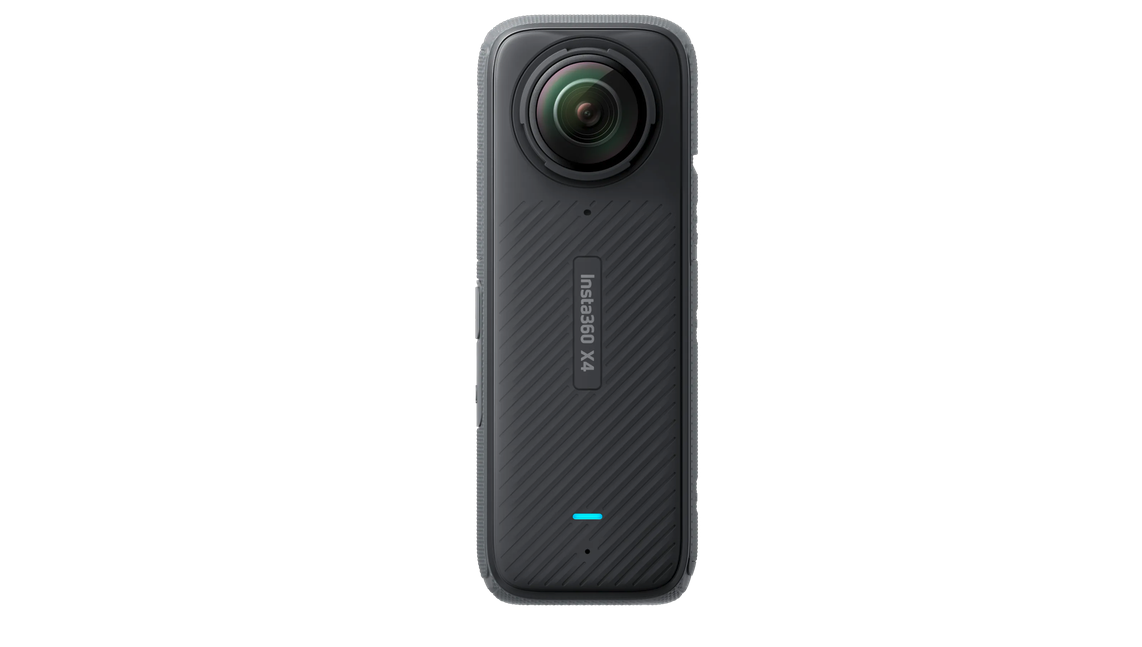
Insta360 X4
360-degree action camera with 8K all-round video – it captures everything at once, and you choose the framing afterwards on the computer or phone.
Overview
The Insta360 X4 is a 360-degree camera: with two lenses (front and back) it captures the entire surroundings at once. You don’t aim while filming – the actual framing is chosen afterwards in the app or on the computer (“reframing”). This lets you create pannable all-round videos, follow-me tracking shots or ordinary flat videos from a single take.
Typical uses: room/campus tours, events, sport, perspective changes and the well-known “invisible selfie stick” effect (the grip disappears from the image).
Note: We also have an Insta360 X3 and an Insta360 Pro in stock. This guide is for the X4 only.
Technical data
| Feature | Value |
|---|---|
| Type | 360-degree camera (two lenses, front + back) |
| Sensors | 2× 1/2” CMOS |
| Aperture | f/1.9 |
| 360° video | 8K at 30 fps · 5.7K at 60 fps |
| Single lens | up to 4K (single-lens / action mode) |
| Photo | 72 MP (360°) |
| Display | 2.5” touchscreen |
| Waterproof | to 10 m (without housing) |
| Lens protection | removable lens guards (replaceable) |
| Battery | 2290 mAh, up to approx. 135 min (5.7K/30) |
| Storage | microSD up to 1 TB (fast card, V30+) |
| Connectivity | Wi-Fi/Bluetooth to the app, USB-C |
Quick start
- Card & battery: Insert a charged battery and a fast microSD card (for 8K use a V30 card or better).
- Keep the lenses clean: Check and, if needed, clean both lenses before recording – fingerprints are immediately visible in the 360° image. Lens guards protect the delicate lenses.
- Record: Choose the mode on the touchscreen (360° video is the default) and just start – the camera films all around, no need to aim.
- Hold it: Best used on a selfie stick / tripod; thanks to stitching the stick becomes invisible.
Editing & exporting
The 360° footage is processed after the shoot – in the Insta360 app (phone) or with Insta360 Studio on a computer. There you set the framing (reframing), add pans/tracking and finally export a normal video (e.g. 16:9) for further use.
Tip: For demanding reframing and 360° editing, the powerful editing / VR PC from the loan pool is a good choice.
After use
Back up and delete your own footage from the card, charge the battery, check the lenses and put the camera back into its protective pouch/box with the lens guards on.
Examples
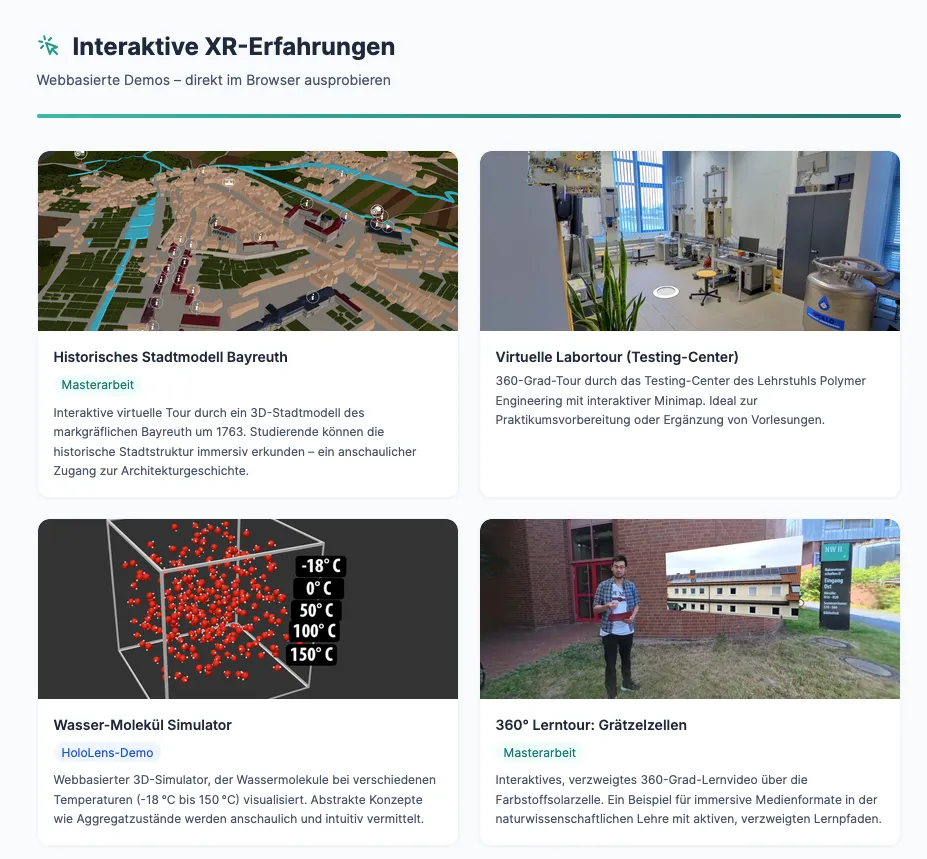
Here you find a few examples how we used this camera for projects: https://zhl-ubt.de/