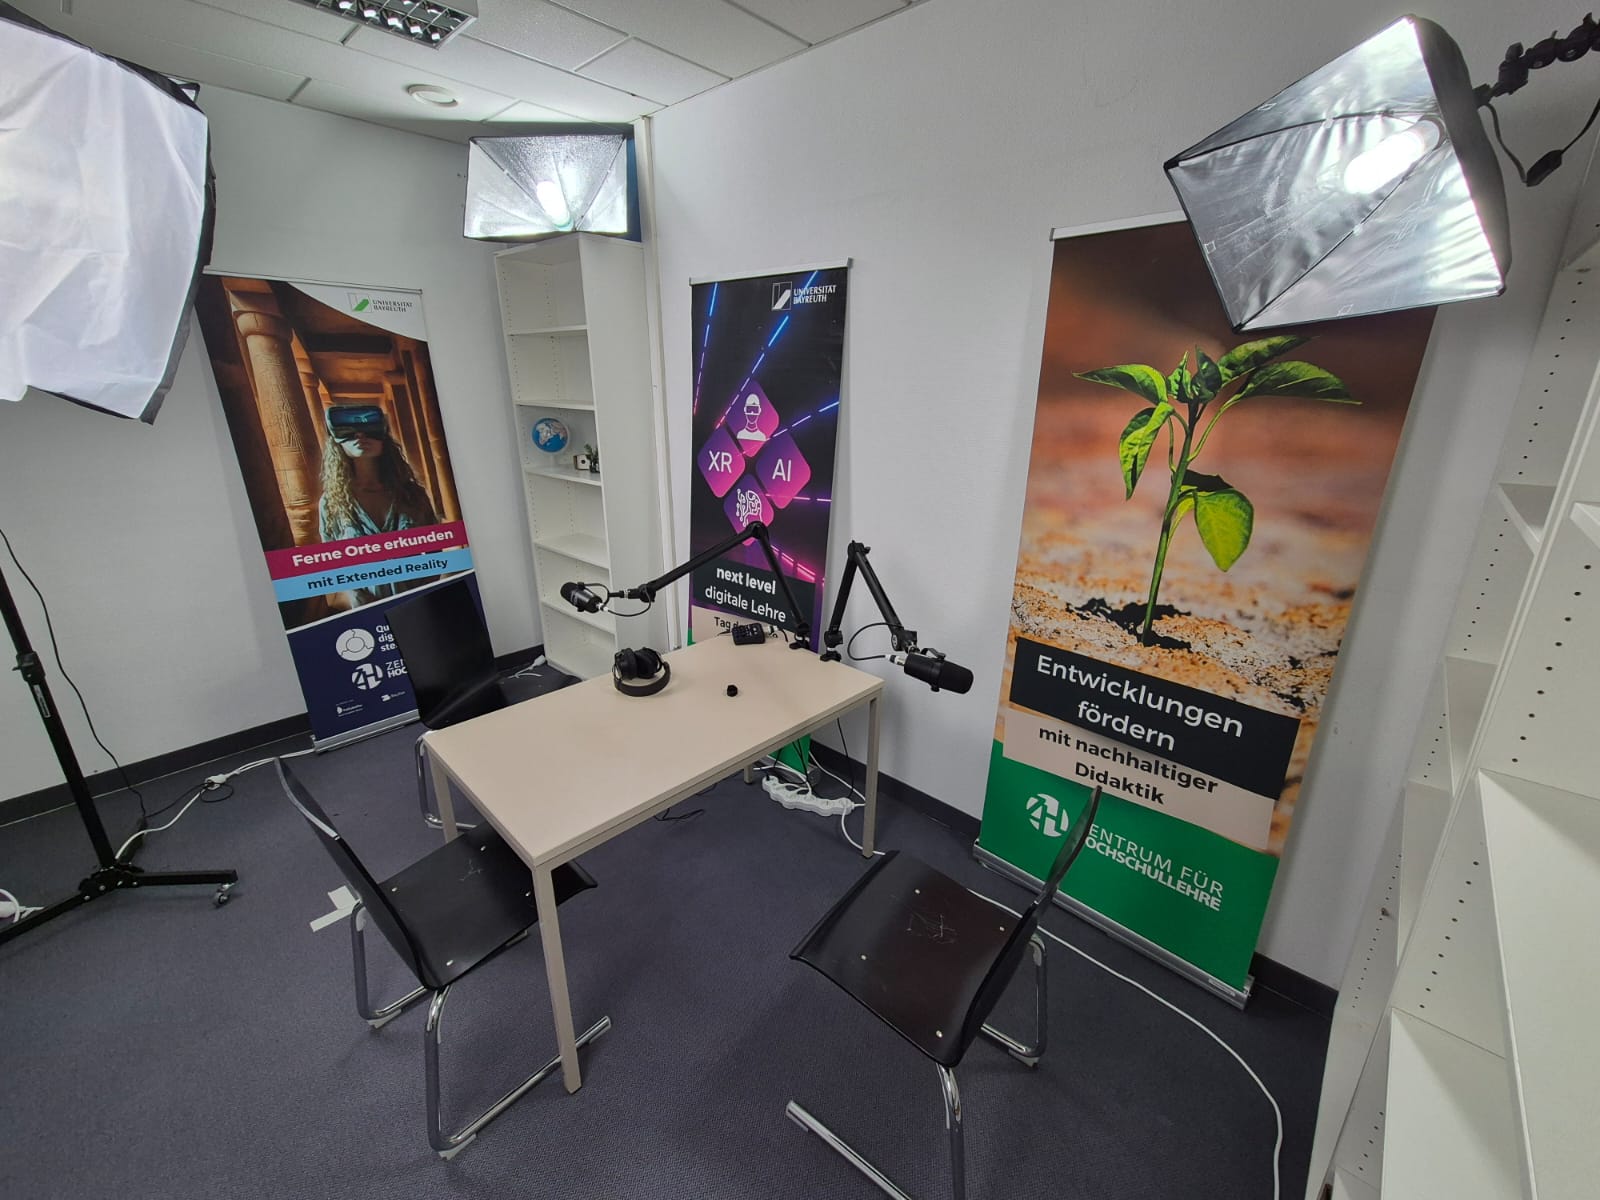
ZHL Podcast Studio
Small recording studio for podcasts, interviews and conversation formats – with two microphones, headphones and the Zoom PodTrak P4next recorder. Self-service, with access via a transponder key safe.
Overview
The ZHL Podcast Studio is a small, fully equipped room for podcasts, interviews and conversation formats in teaching and research. Table, microphones on boom arms, headphones and the recorder are ready to use – all you need to bring is a computer to copy your recording to at the end.
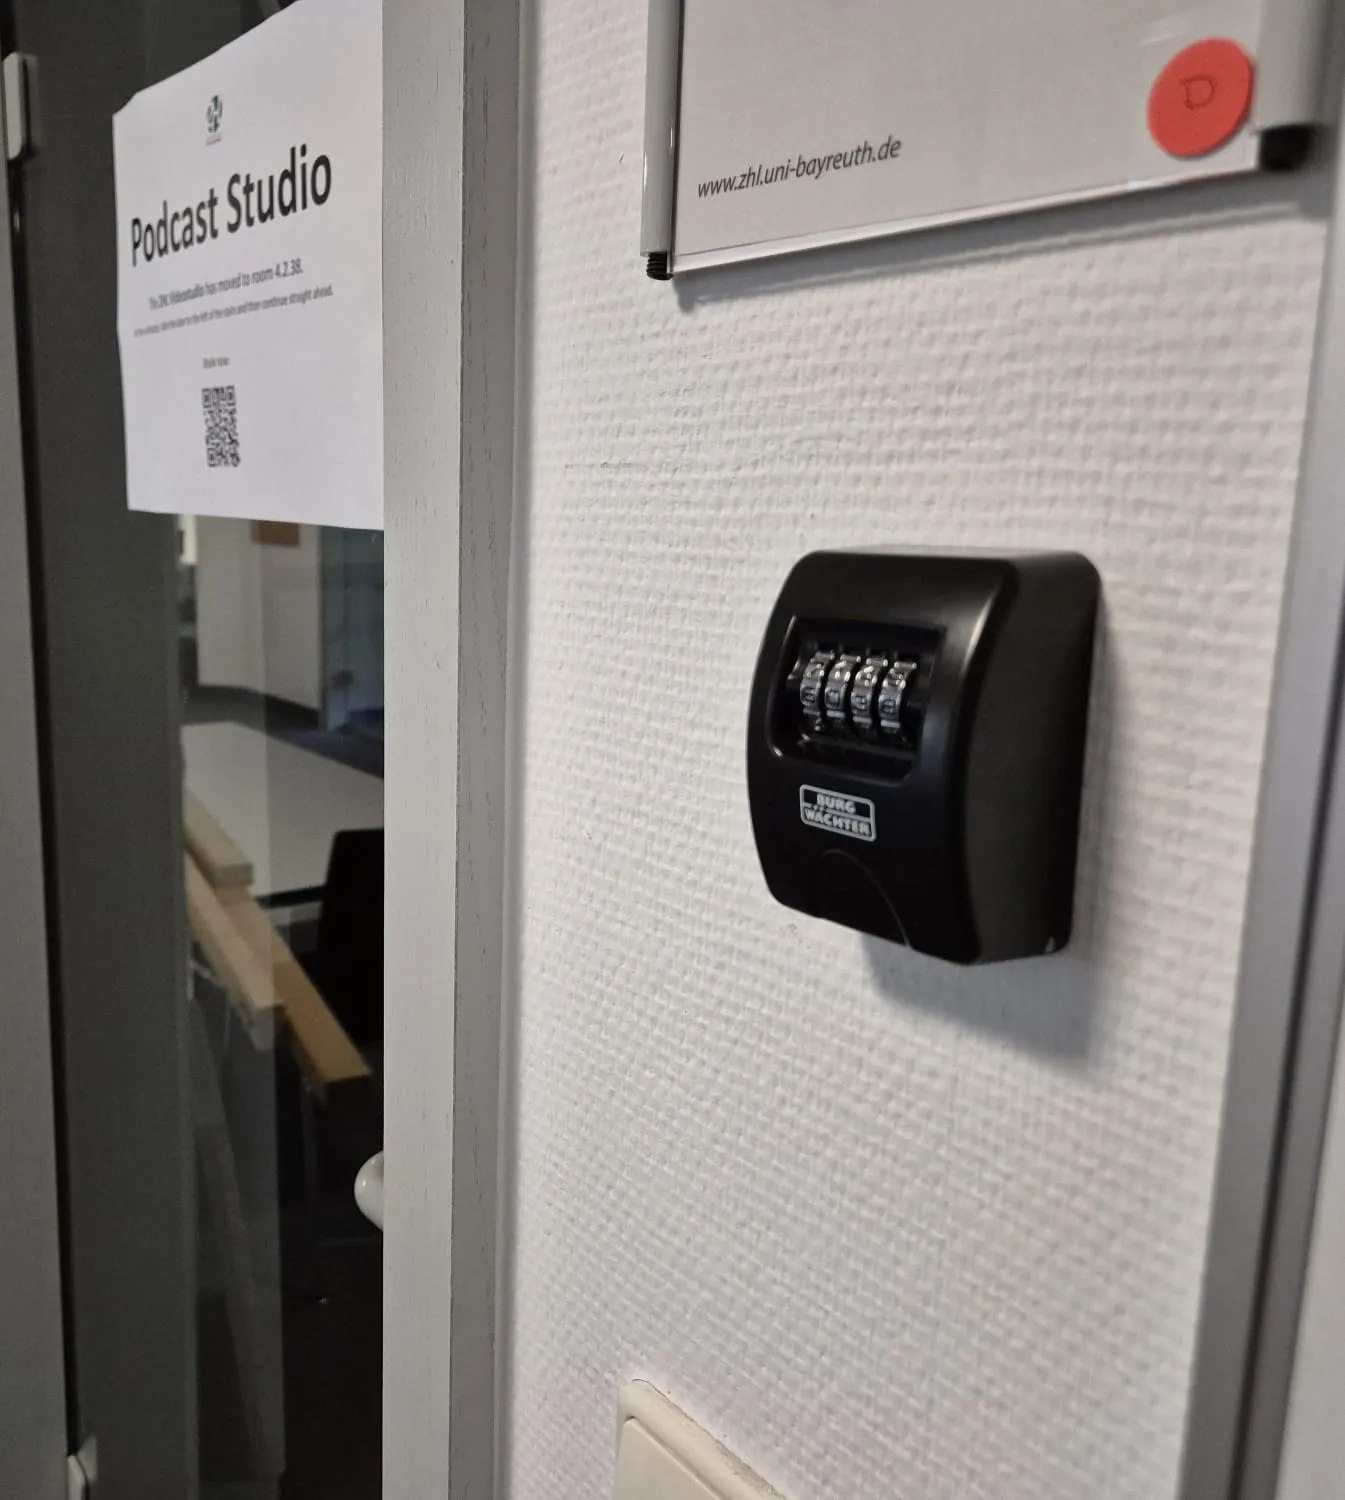
The studio works as self-service: you book your time online, take the room transponder out of the key safe next to the door using the code from your booking confirmation, and record on your own.
Technical data
| Equipment / feature | Description |
|---|---|
| Recorder | Zoom PodTrak P4next (up to 4 microphones, 4 headphone outputs) |
| Microphones | Two podcast microphones on boom arms |
| Levels | Black knobs = microphone level, blue knobs = headphone volume |
| Sound pads | Buttons A–D play stored sound effects (e.g. jingles) |
| Data transfer | Supplied USB-C cable to copy your recordings to your computer |
| Access | Room transponder in the combination key safe right of the door (code by email) |
| Operated by | Centre for University Teaching (ZHL) |
Preparation
-
Book: Reserve the podcast studio via the media lending system.
-
Get the code: Your booking confirmation email contains the code for the transponder key safe.
-
Collect the transponder: The small key safe hangs to the right of the door. Enter the four-digit code, open the safe and take out the room transponder.
-
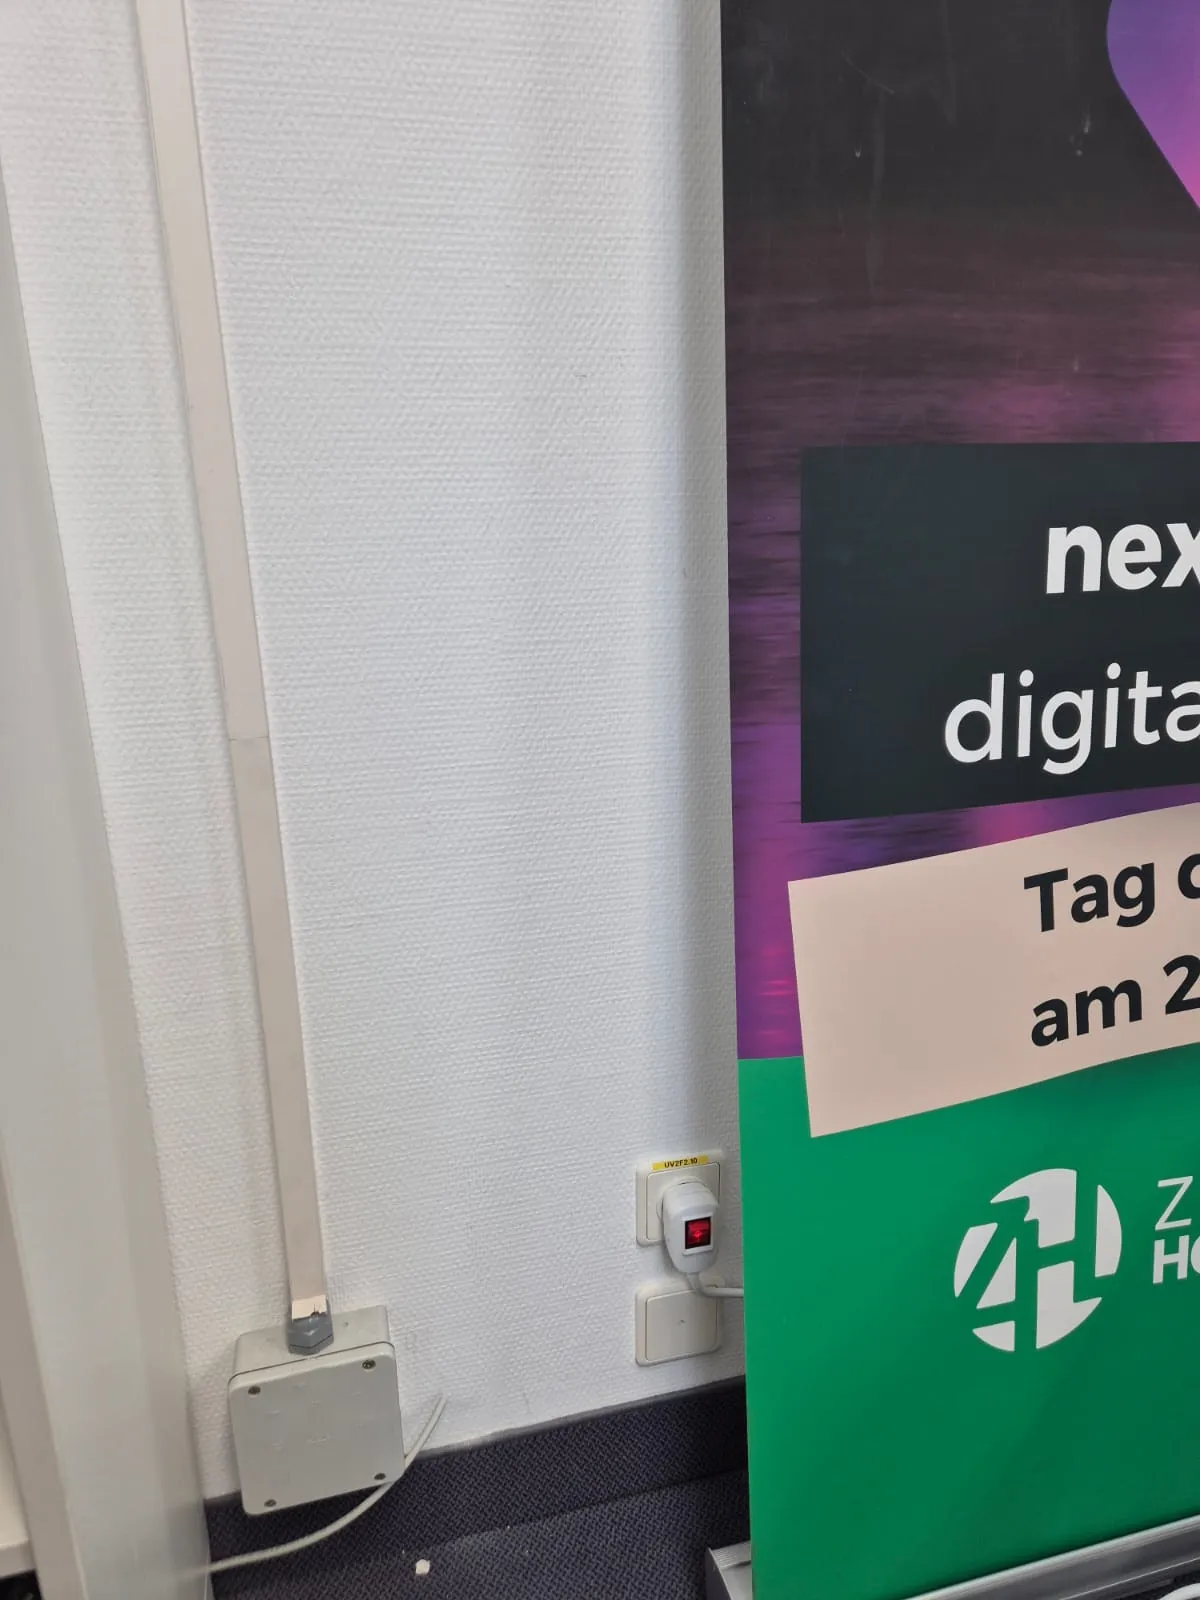
Switch on the power: Switch on the power strip to the left of the table using the red rocker switch.
Recording with the Zoom PodTrak P4next
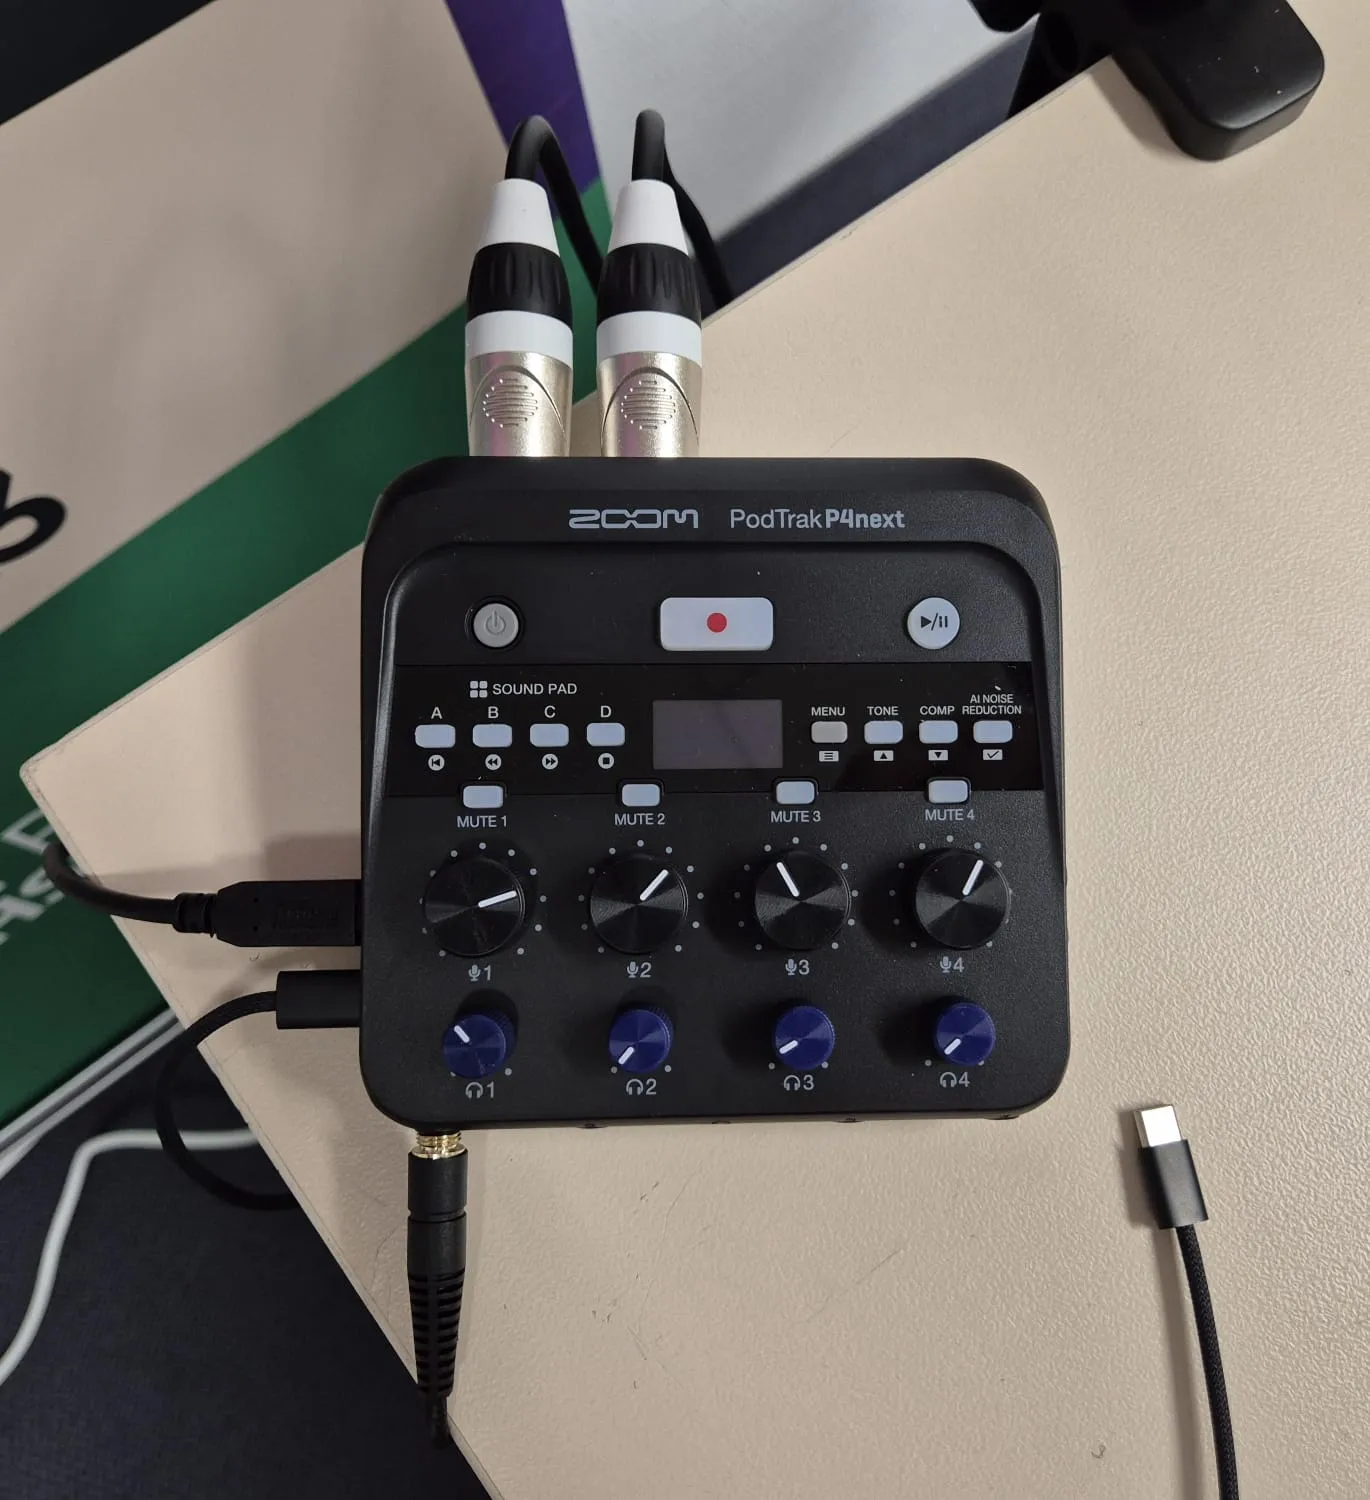
- Switch on: Press and hold the grey button on the left (power) until the display lights up.
- Set levels: The black knobs (1–4) control the level of each microphone, the blue knobs the volume of the matching headphones. Do a test: the sound should be loud enough without clipping.
- Start and stop recording: Press the red record button in the middle. Press it again to stop.
- Listen back: Use the play button (top right) to play back the recording.
- Sound effects: Buttons A–D (sound pad) play sound effects.
- Mute: MUTE 1–4 briefly mutes individual microphones.
Saving your recordings
Copy your files right after recording to your computer using the supplied USB-C cable.
We delete recordings on the device regularly. Anything you don’t save right after your session will be lost.
After recording
- Switch off the recorder (press and hold the grey button on the left).
- Switch off the power strip.
- Leave the room tidy and close the door.
- Put the transponder back into the safe, close it and scramble the digits.
Contact
- Email: zhlmedien@uni-bayreuth.de
- Booking: media.zhl-ubt.de